the one that got away 🙂
I ended Part 1 by saying that, in many cases, a complete rewiring simply makes more sense—and if you’re paying a shop to sort out a compromised system, it can often be the less expensive route in the long run. With today’s aftermarket harnesses, the process is far more straightforward than it used to be. With some planning and a methodical approach, there’s no reason you can’t produce a clean, reliable result.
Before starting, make sure you have the right tools and materials on hand: wire cutting pliers, a proper wire stripping tool, quality crimping pliers, a heat gun or butane torch, heat-shrink butt connectors, heat-shrink tubing, eyelet terminals, a supply of 10-gauge black wire, dielectric grease, wire ties, and basic hardware like 1/4-inch bolts, lock nuts, and flat washers. Having the correct tools is not optional—poor connections are the root of most electrical failures.
For harnesses, I’ve worked with several over the years, and I consistently come back to Rebel Wire. Their VW Bug and VW Bug Deluxe kits are both well thought out and user-friendly, particularly for buggy and kit car applications.
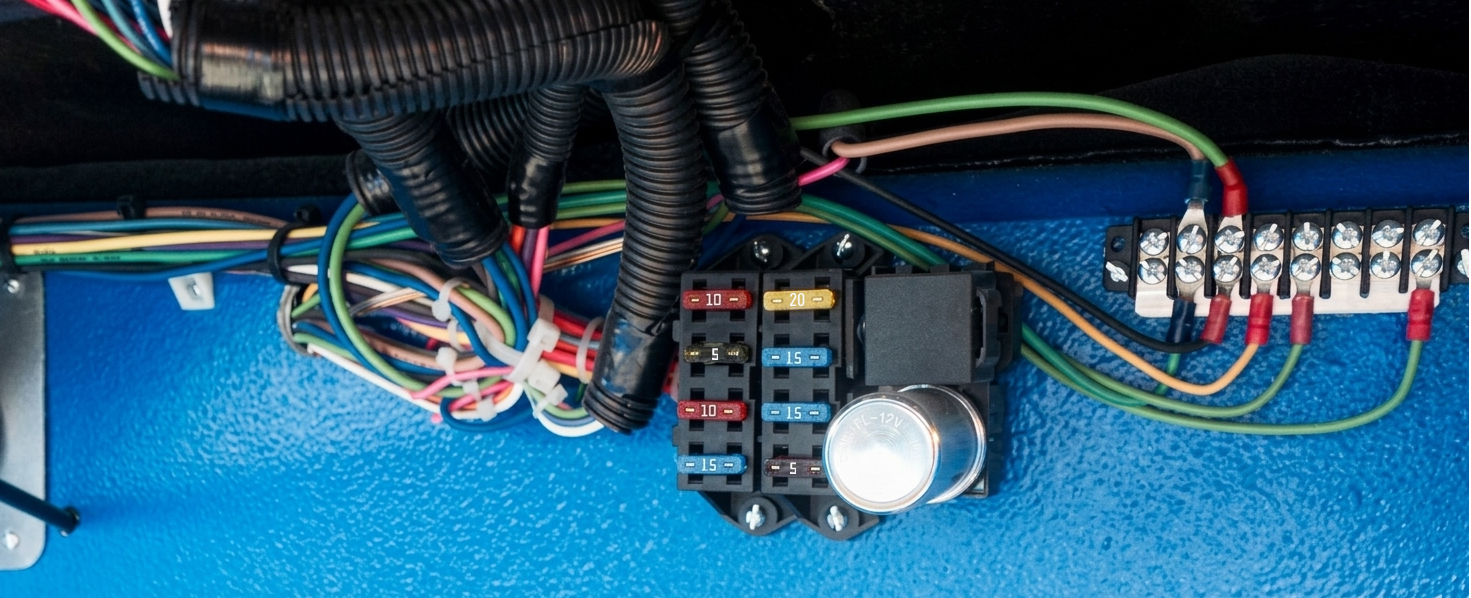
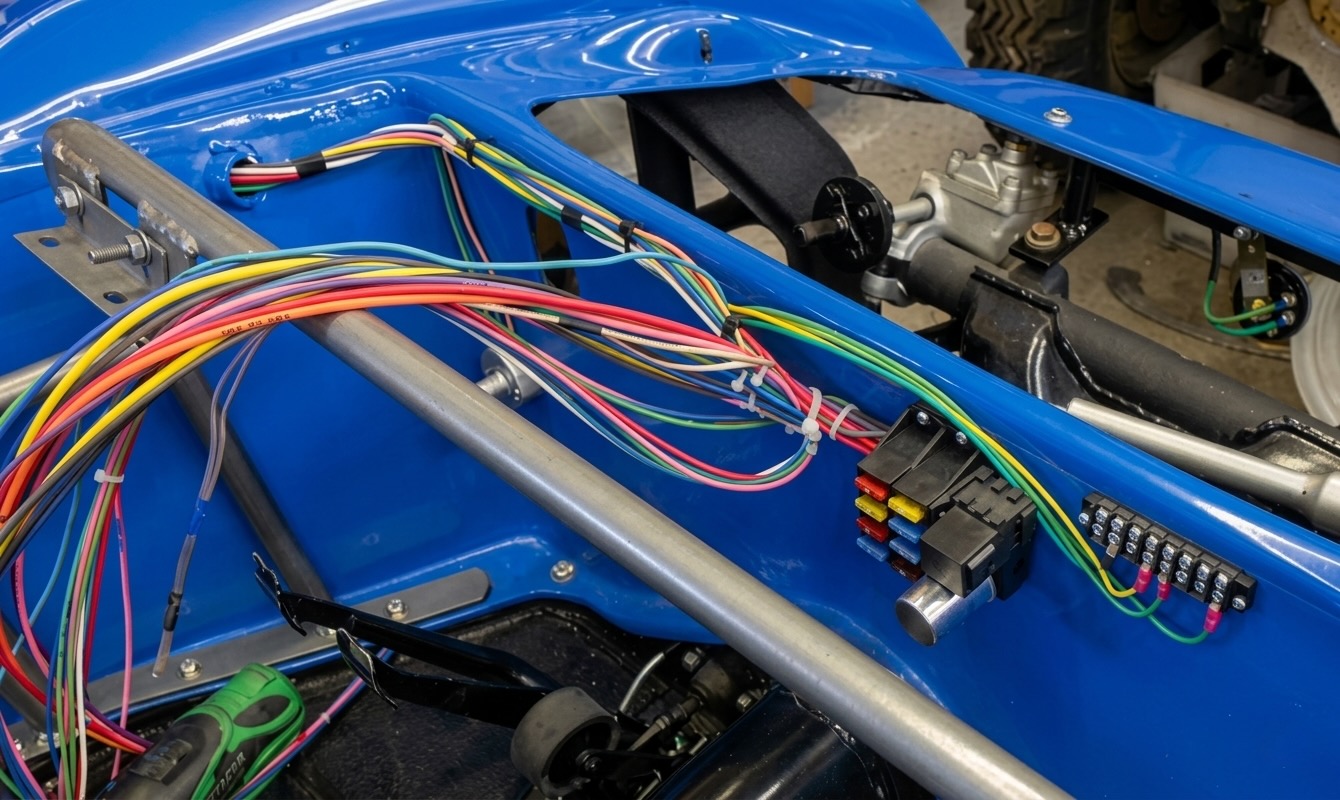
When it comes to mounting the fuse block, I prefer placing it high on the passenger-side firewall. The exact location is flexible, but accessibility matters. At some point, you—or someone else—will need to service it, and convenience counts.
Now, the most critical aspect of the entire job—and the area where I see the most consistent mistakes—is grounding.
A fiberglass-bodied vehicle does not provide a natural ground path. Every electrical component—lights, gauges, accessories—must have its own dedicated ground path to the steel frame. The battery must be grounded to the frame, and the engine must also be grounded to the frame. These are not optional steps.
Grounds should never be daisy-chained from one component to another. Each ground should be intentional and direct. Wherever you attach a ground to the frame, remove any paint or powder coating down to bare metal to ensure proper contact. Once secured, protect the connection with dielectric grease to prevent corrosion.
If necessary, use buss bars or dedicated ground studs to keep things organized—but do not take shortcuts. A poor ground will create problems that are difficult to trace and even harder to diagnose.
As you begin wiring, work one circuit at a time. I keep a 12-volt battery nearby along with a pair of jumper wires fitted with alligator clips. As each circuit is completed, I test it immediately. This confirms proper operation before moving on and prevents compounding mistakes. Always establish the ground connection first before applying power.
Routing is equally important. Plan where the wires will run before securing them. Once everything is verified, bundle the wiring cleanly and protect it with split loom. A well-routed harness not only looks professional—it prevents future wear and failure.
At the end of the day, wiring can either elevate a build or undermine it entirely. But if you approach it with patience and a structured process, there’s no reason it can’t be done correctly.
And when it is done right, everything works the way it should—no surprises, no crossed circuits, and no situations where turning on the radio makes the left front turn signal blink.
– John Mickle